Wondering how to take 360 photos without expensive gear? Use a dual-lens camera on a steady support, or stitch overlapping shots from a tripod. Either way, keep the camera level and still.
This guide is part of our wider coverage of 360 photography.
| Item | Value |
|---|---|
| DSLR or mirrorless with a fisheye lens | Minimum of five shots |
| Overlap between neighbouring frames | Roughly 30% overlap |
| Flat file shape of a finished image | 2:1 rectangle |
| Dual-lens camera hardware | Two sensors and two 180°+ fisheye lenses |
| Phone camera alone | Cannot natively shoot a true 360-degree photo |
The figures come from Chris Wright’s guide and Photodoto. They can change, so check those sources before you rely on them.
What a 360 photo actually is
A spherical image lets you look around as if you were standing where the camera was, as Photodoto describes it. The same guide says these are 360 photos, and they are easier to create than you might think.
The file you save is flat. Photodoto explains that this equirectangular image unwraps the sphere into a 2:1 rectangle, and a compatible viewer re-wraps it into a sphere. For the geometry behind it, read our explainer on equirectangular projection.
Choose your capture method
Your gear decides the workflow, so pick a route before you head out. Chris Wright’s guide separates single-shot cameras from DSLR rigs, while Photodoto covers phones.
- Dual-lens camera: these models carry two sensors and two 180°+ fisheye lenses, so one shot yields a full sphere, according to Wright. He adds that if you need images for the web, vlogs and social media only, any of them will do the job.
- DSLR or mirrorless with a fisheye: Wright says this route needs a minimum of five shots. He recommends it when you want a hi-res result that bears close inspection.
- Phone: Photodoto states that an iPhone cannot natively shoot a true 360-degree photo. A stitching app is the workaround.
A fisheye lens covers 180° of its surroundings. Tilted slightly upward and rotated around the no-parallax point, it records the sides and the ceiling, as Wright explains.
How to take 360 photos step by step
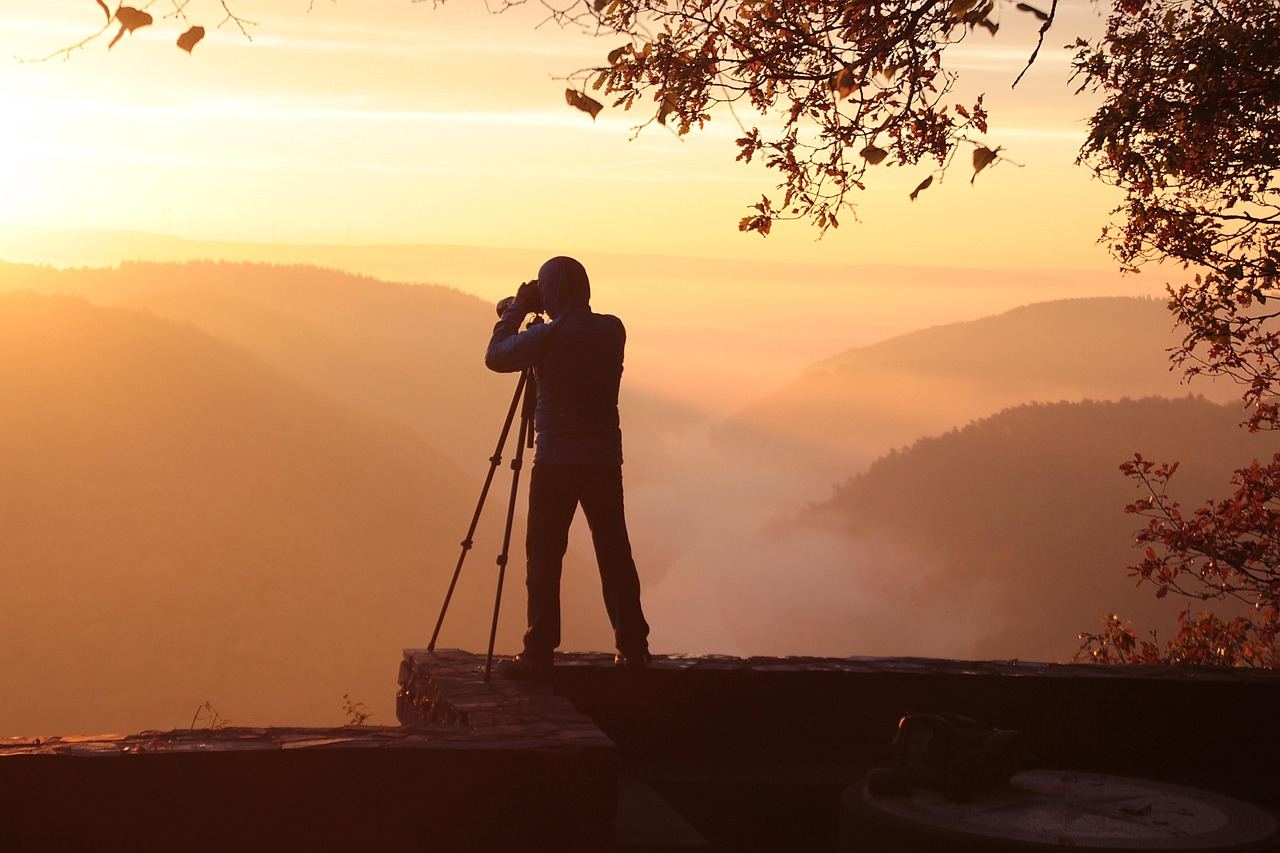
These steps suit a camera on a tripod or pano head. They follow the shared advice of the sources listed in each step.
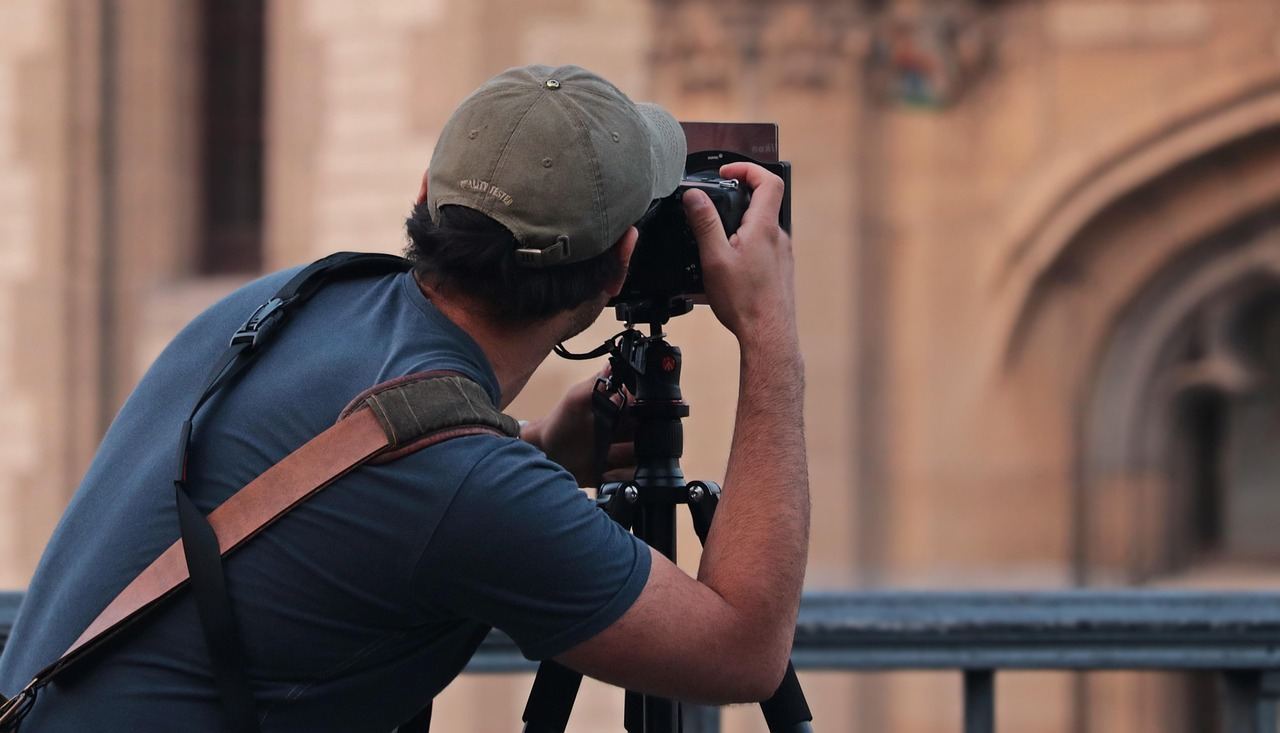
- Steady the camera. Your frames get joined later, so Wright calls it vital that the camera doesn’t shift while it is rotated.
- Level it and find the rotation point. Wright places the no-parallax point somewhere between the sensor and the glass. Panoee suggests rotating the camera and sliding it on the pano head until a near object stops shifting against the background.
- Lock exposure and white balance. Panoee advises metering a mid-tone and then locking white balance for colour consistency. A contributor on Unique Photo’s community page also sets manual focus and manual exposure so frames don’t vary.
- Shoot with overlap. Wright’s calculations allow for roughly 30% overlap. He calls overlap essential because it gives flexibility in stitching.
- Add the ceiling and the floor. Capture the top and bottom of the scene, as the next section describes.
- Shoot a spare round. Panoee recommends an extra safety round in case of blinking lights or people moving.
On a phone the routine differs. In Photodoto’s walkthrough, the app shows a guide on your camera screen telling you where to point for each shot. To minimise parallax errors, you rotate the phone around its camera lens, not around your body.
Handling the zenith and nadir
The ceiling or sky is the zenith. Wright describes a setup that leaves only the floor under the tripod, the nadir, unexposed.
To hide the tripod, Panoee says to tilt the camera down with the pano head, or move the tripod slightly. Then shoot a clean floor plate for use during editing.
A contributor on Unique Photo’s community page points out that fewer shots mean fewer chances for things to move between frames. That is the appeal of a wide fisheye.
Mistakes that break the stitch
Most failed images trace back to a handful of habits.
- Going handheld: Wright warns of badly aligned images and hours of Photoshop correction.
- Ignoring parallax: if the rotation point is wrong, Wright says the images won’t fit together without extensive Photoshop work.
- Facing the sun: a community answer simply says to avoid shooting into it.
- Fast-moving subjects: the same page warns that crowds give odd blurs where one frame meets the next. At busy events, Panoee suggests two passes.
After the shoot: stitching and sharing
Stitching joins the overlapping frames into the flat file. Photodoto says the Street View app can stitch images automatically for you.
When your image is stitched and checked, the next step is learning how to share 360 photos online.
Frequently asked questions
Can I take 360 photos with a phone?
Show answer
Only through a workaround. A panorama app prompts you through overlapping shots and joins them, and Photodoto lists the Google Street View app among popular options.
Do I need a tripod?
Show answer
For a single-shot camera, Wright finds a lightweight monopod ideal. For a DSLR he uses a heavyweight tripod.
How many frames should I plan for?
Show answer
It depends on the lens. Wright points to a Panosociety calculator where you look up lens and sensor details in a spreadsheet.
Why do my seams look wrong?
Show answer
Usually the camera rotated around the wrong point or moved between frames. Recheck the rotation point and your support using the steps above.