Do bright windows blow out while shadows turn black when you shoot a full sphere? For hdr 360 photography, bracket each view in Manual mode, change only shutter speed, and merge the sets.
If you are new to spherical capture, the guide to 360 photography covers the basics.
| Item | Value |
|---|---|
| Minimum for a bracketed view | Each shot taken at least 3 times |
| Typical bracket on pro-sumer cameras | 3 shots at +/- 2EV |
| HDR file bit depth | 32 bit per channel (regular JPEG files: 8 bits) |
| Camera exposure mode | Manual (M) |
These values come from the PTGui HDR tutorial and the Panomundo exposure bracketing guide; they can change, so check the source before you rely on them.
Why does a full sphere need HDR?
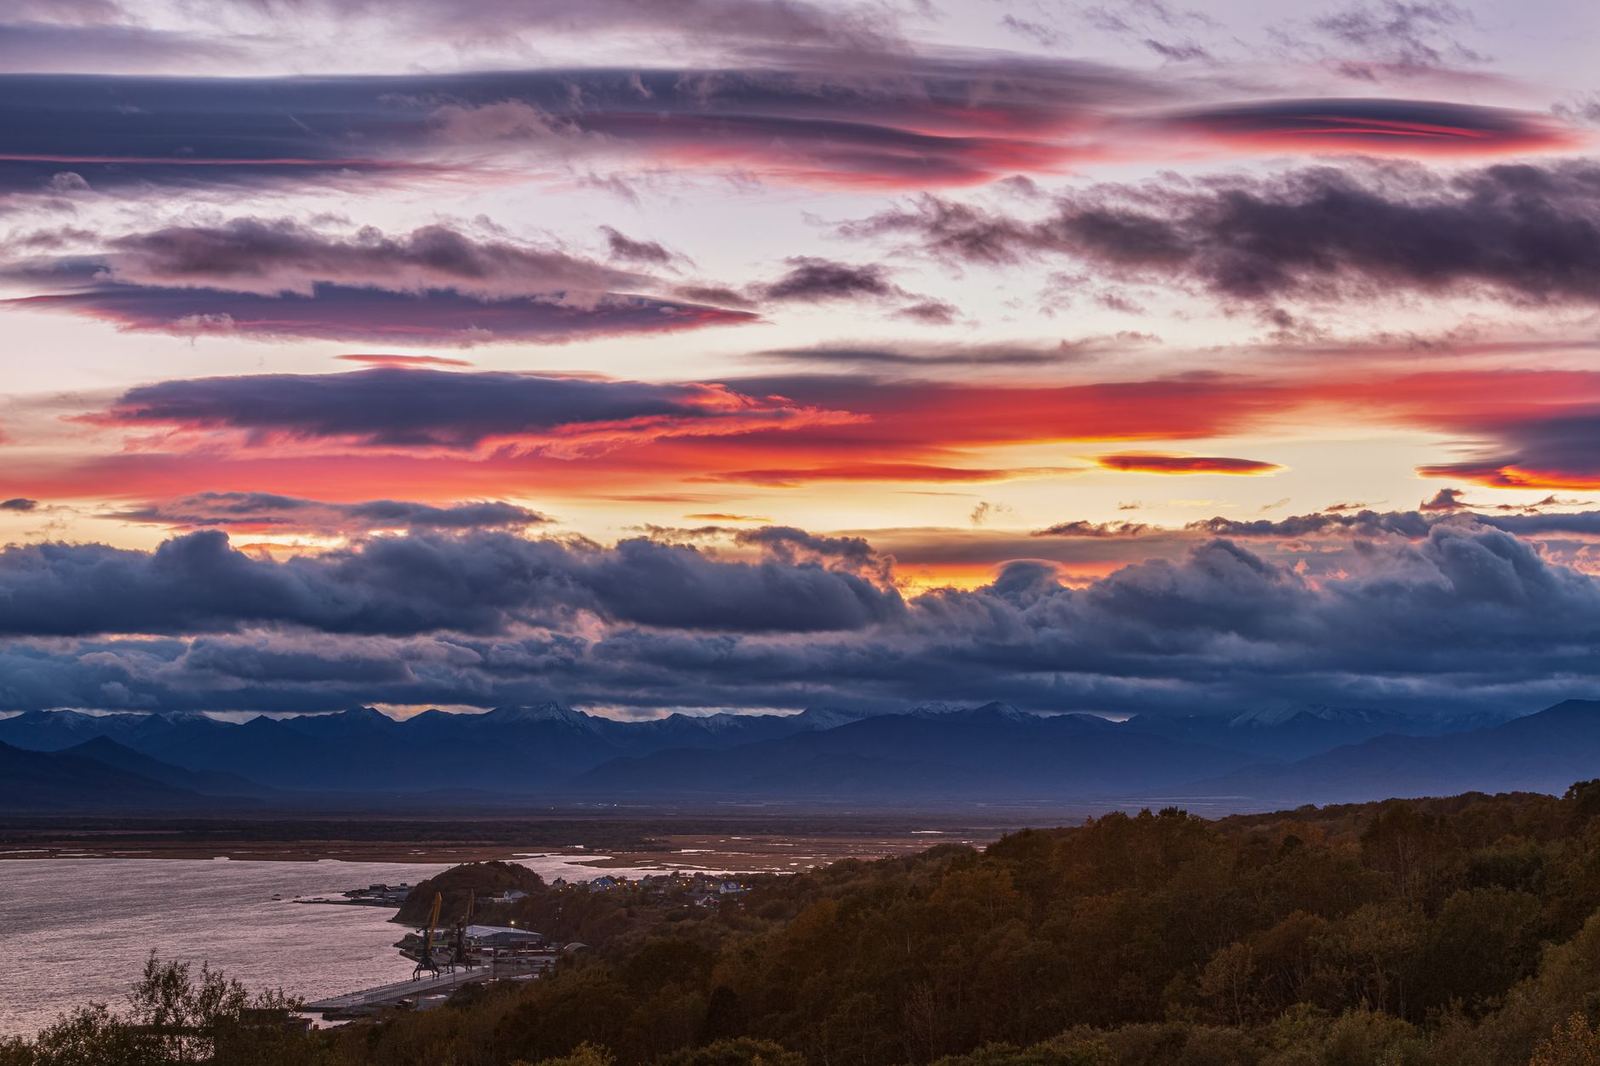
Every camera has a limited dynamic range, and a bright day can exceed it. The PTGui HDR tutorial explains that on a sunny day the contrast between shadow and sunlit objects is often too high for a single photograph to capture.
A spherical shot makes the problem harder, since the same tutorial adds that a panorama captures a wider scene and is more likely to contain both highlights and shadows. In a full 360 photo you need to capture every space around you, according to Cupix, so the sun and a dark corner can end up in the same sphere.
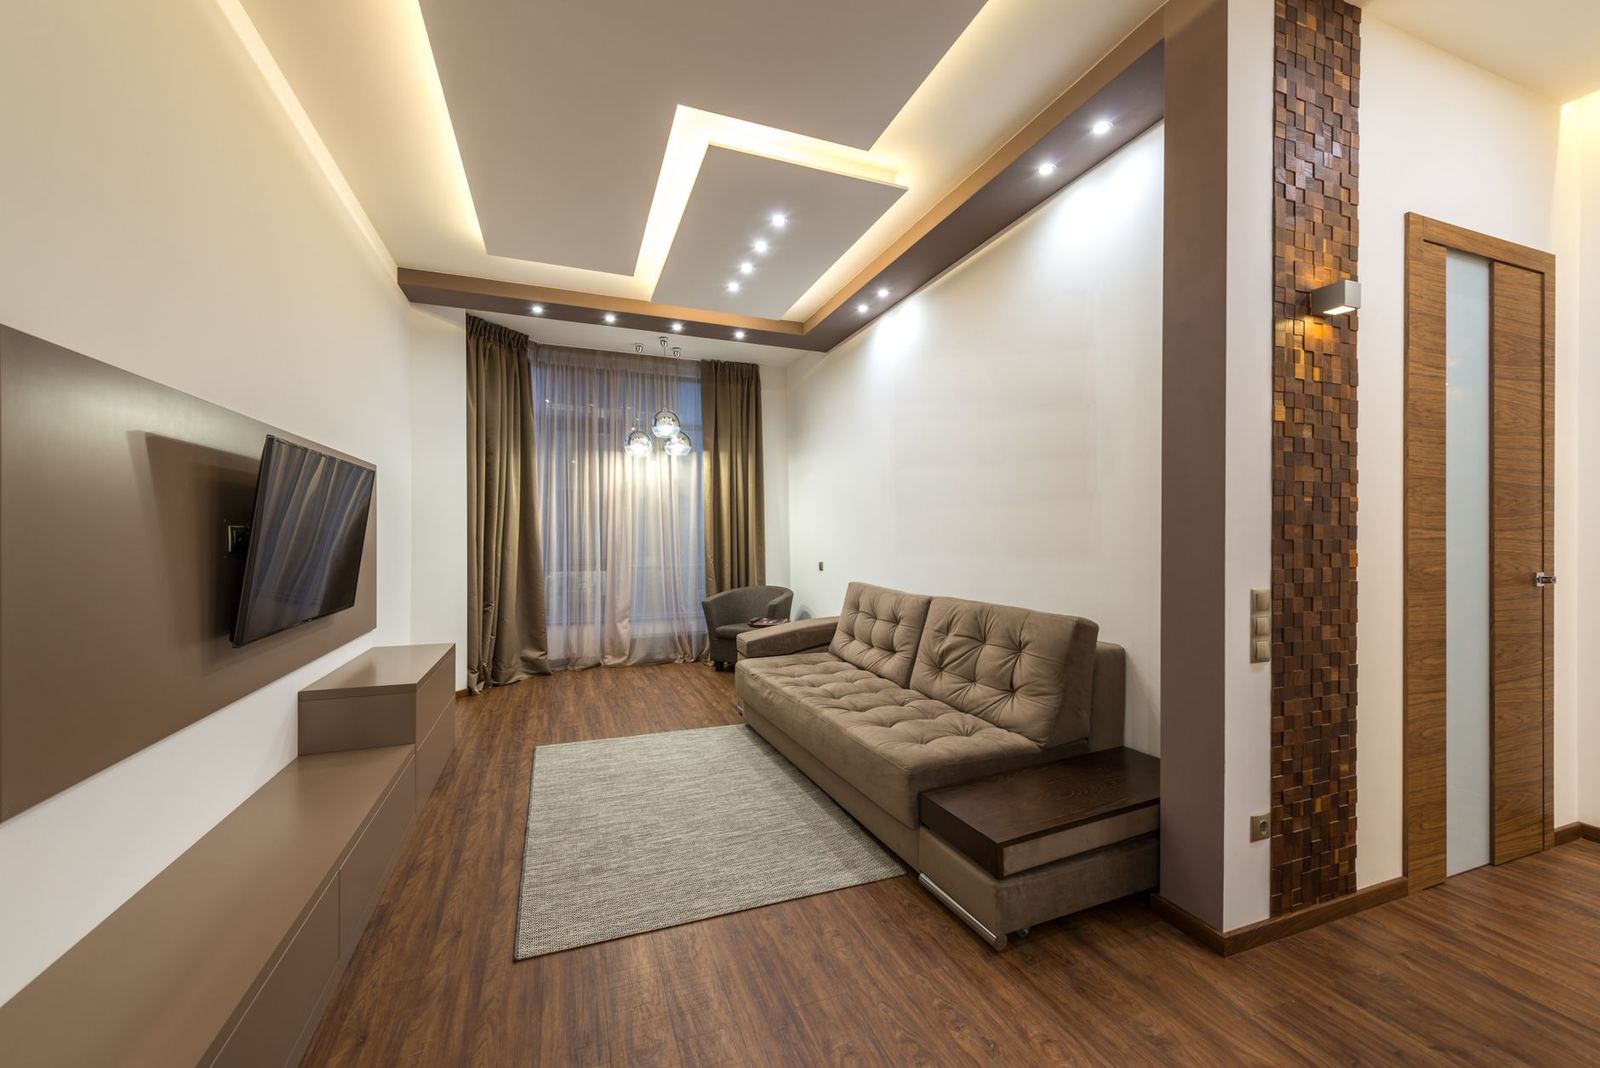
Interiors show the problem fastest. The Panomundo exposure bracketing guide says bright windows almost always get blown out indoors, because a camera and display cannot show the full range of luminosities in the real world.
HDR here means shooting a bracketed set of differently exposed frames of one view and combining them. The merged image is typically stored at 32 bit per channel, while regular JPEG files hold only 8 bits, as the PTGui tutorial notes.
Camera settings that keep every set consistent
The stitcher has to treat each frame in a set as the same view at a different brightness, so consistency matters more than any single setting. These steps follow the PTGui HDR tutorial.
- Switch to Manual mode. In any other mode the automatic exposure would shift between shots, so the sun-facing part of the scene would be shot at different exposure times than the darker parts.
- Find your range. Temporarily use Av mode, pick an aperture and read the times your camera chooses for highlights and shadows. Then copy that aperture to M mode and set a time somewhere between the two readings.
- Vary only the exposure time. Changing the aperture also changes depth of field, and changing ISO changes the noise and how noise reduction behaves.
- Lock white balance, as you would for any panorama.
- Repeat the same exposures at every position, preferably in the same order, so the stitcher can spot the repeating pattern.
The tutorial calls a tripod recommended but not required. A tripod does make the later alignment of each set simpler.
How many exposures to shoot per view
There is no single right count, because it depends on how much contrast the scene holds. The Panomundo guide describes the basic bracket as one frame at the set exposure, one darker and one brighter.
- Basic: 3 shots at +/- 2EV, which that guide says is all pro-sumer grade cameras usually do.
- Wider: the same guide suggests perhaps 8 to 10 shots going from +/- 10EV for demanding scenes, though it adds that only high-end DSLRs do this automatically.
- Spherical workflow: one photographer on stuvel.eu takes 5-7 photos of different exposure at each position, resulting in 190-266 photos in total.
That last author also notes that the exact number depends on the dynamic range of the scene. Treat these counts as examples to adapt, and start with the smallest set that keeps both the sky and the shadows readable.
Merging a set: true HDR, exposure fusion and tone mapping
In the true HDR route, the bracketed frames are merged into a high dynamic range image first. Because a monitor and paper ink have limited contrast too, that image is tone mapped before display; the PTGui tutorial describes tone mapping as local brightness adjustments that reduce the dynamic range for screen or print.
Exposure fusion skips the intermediate HDR file. The same tutorial calls it the simpler alternative when you only want the final tone mapped image, and its Image Fusion workflow builds that panorama directly from the bracketed source images.
Enfuse, a command-line program described by Panomundo, works in a similar fashion with a different algorithm, and the author says it gives cleaner images without strange halos and ghosting. That is one author’s view, so compare the output on your own scenes.
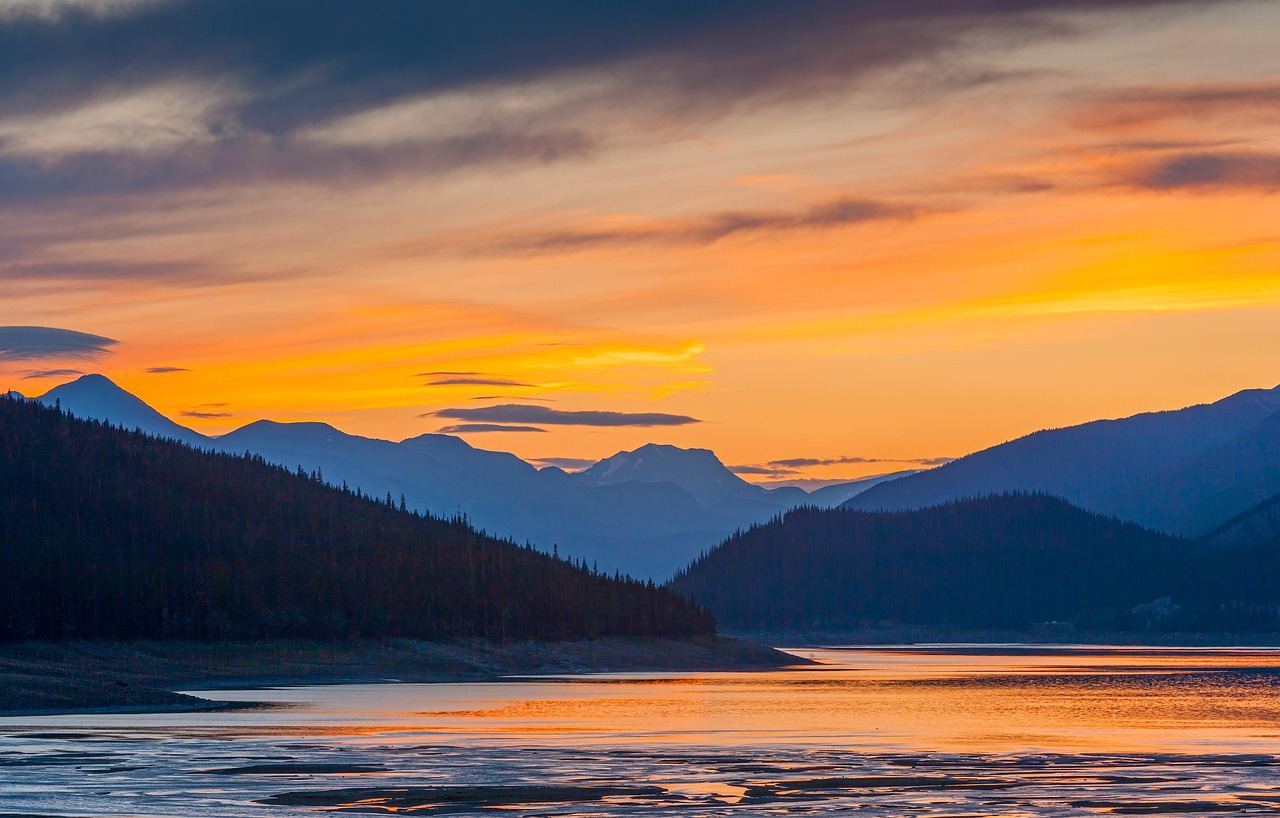
Choose by end use: fusion is enough when a displayable image is the goal, while an HDR file keeps the full range for later tone mapping.
Stitching, editing order and cleanup
Stitchers expect complete sets. The PTGui tutorial states that, for every exposure time, the whole panorama should be covered, so a missing frame in one position breaks the merge. It was written for an older version of PTGui, so menus may differ in newer releases, as the tutorial itself warns.
Linking depends on how you shot. With a tripod, PTGui can link the frames so each bracketed set is overlaid exactly, while handheld sets need the link feature disabled so the software aligns frames inside each set as well, per the same tutorial. In Hugin, the Link Positions option connects every bracketed stack and moves it like a single shot, according to stuvel.eu.
If you colour grade before stitching, sync all edits between all photos. Tone-mapping individual tiles before stitching can create visible brightness mismatches between pano segments, as a Unique Photo community answer puts it.
The same answer says pre-editing each bracketed nadir exposure is awkward and usually inconsistent, and recommends patching the nadir hole after the panorama is stitched. A walkthrough of how to remove tripod from 360 photo files covers that final step. For other tools beyond the ones named here, see the overview of 360 photo editing software.
Frequently asked questions
Should I tone map before or after stitching?
Show answer
Later is safer. A forum answer on Unique Photo advises tone mapping as late as you can, which keeps the HDR data intact through most of the workflow.
What happens if something moves between bracketed shots?
Show answer
Moving subjects such as people or wind-blown branches will not line up when the frames are merged. According to Panomundo, you then have to fix those areas by hand, which is why a still scene and steady support help.
Can a compact camera shoot HDR spheres?
Show answer
Usually not well. The PTGui tutorial points out that many digital compact cameras lack Manual mode, which makes consistent bracketing nearly impossible and suggests an SLR instead.
Should I shoot raw files?
Show answer
It helps. One photographer at stuvel.eu shoots everything in raw to get the greatest dynamic range per photo, then edits the files before stitching so the software sees normal photos.